Manual.ly Logo

Chicco Baby Hug 4 in 1 Manual

0,0 · 0 Bedømmelser

PDF-manual · 112 Sider

Dansk

M: GO-GEM-FL-25
side

/ 112

Loading...
c2b283e0701ef547d8f033ee65ada21c6ffd page 10
16
17
CLEANING
Clean the plastic parts with a soft damp cloth. Never use
abrasive detergents or solvents. If the highchair comes
into contact with water, dry the metal parts to prevent
the formation of rust.
MAINTENANCE
• This product requires periodical maintenance.
• Cleaning and maintenance operations must only be
carried out by an adult.
• Periodically check the product for broken, damaged or
missing parts: do not use it in this case.
• To avoid friction that may compromise the correct
functioning of the product, ensure that all the moving
plastic parts located along the metal frame are free of
dust, dirt and sand.
• If necessary, lubricate the moving parts with dry sili-
cone lubricant.
• Store the product in a dry place.
COMPONENTS
The product is completely disassembled when pur-
chased; check that all of the components listed below
are present. If any part is missing contact ARTSANA’s
CUSTOMER SERVICES.
The product and all of its components must always be
assembled by an adult.
A - Height adjustable pedestal frame
A1 - 4 wheels with brakes
B - Seat frame
C - Seat structure
D - Tubular seat frame
E - Fabric (with shoulder straps)
F - Booster cushion
G - Toybar
G1 - Light / sound game buttons
G2 - 3 soft toys
I - Upper fabric zips
L - Plastic clips
M - Height adjustment pedal
N - Backrest recline lever
ASSEMBLY
The product is not assembled when purchased. To use
it, carry out the following assembly operations:
1. The rst thing to do is assemble the “A1” wheels on
height adjustable base frame “A”. To do this place the
frame on a rug or soft surface so as not to damage the
oor or frame. Assemble the 4 “A1” wheels inserting
the pins in the 4 holes under height adjustable base
frame “A” as shown in gure 1.
WARNING: Fully insert the wheel pin into the hole in
the base. At this point the base can be rested on the
oor.
2. Insert the fasteners of seat frame “B” into the respec-
tive tubes on seat structure “C” until they click into
place (Fig. 2).
3. Assemble the seat (seat frame “B” + seat structure
“C”) on the base: insert the two tubes on base “A”
into the corresponding holes on seat frame “B” until
they click into place (Fig. 3).
WARNING: The backrest must face the height adjust-
ment pedal (I) as shown in Fig. 3a.
4. Insert tube “D” into the corresponding holes on seat
frame “B” until they click into place (Fig. 4).
5. To assemble fabric “E” line up the holes on the fabric
with the restraint system installed on seat structure
“C”. Pass the two lateral arms of seat frame “B” through
the side fabric holes (FIG. 5), insert the pins of the
arms into the holes on either side of the backrest (FIG.
5a) until they click into place.
WARNING: Check that both arms are assembled cor-
rectly.
6. Attach fabric “E” using the two perimeter zips above
seat frame “B” (Fig. 6).
7. Pass the crotch strap and waist straps on seat struc-
ture “C” through the holes of fabric “E” (Fig. 7-7a-7b-
7c).
8. Attach the fabric (E) to the bottom of seat structure
“C”, making sure to insert all of the plastic clips in the
right slots (Fig. 8-8a).
BOOSTER CUSHION
9. Reducer cushion “F” is ideal from birth and can be
used or removed as necessary. To attach it to the
seat, place it on the fabric, pass the crotch strap and
waste straps through the holes in booster cushion “F”
(reclined cradle mode), (Fig. 9). In highchair mode it
is also necessary to pass the shoulder straps through
the holes of the booster cushion (Fig. 9a).
TOYBAR
10. The toys can be attached to the toybar by passing the
straps through the plastic openings on the bar (Fig.
10) and fastening the velcro.
11. Assemble the toybar (with the light positioned to-
wards backrest recline lever “N”) inserting the pins of
the bar into the holes on seat frame “B” until it clicks
into place (Fig. 11).
12. To incline the toybar in the three possible positions
press the side buttons (Fig. 12).
13. To remove the toybar press the buttons on the inside
of the bar support and pull upwards (Fig. 13).
WARNING: Always check that the toybar is properly
fastened before using it.
WARNING: To prevent possible injury by entaglement,
remove this toy when the child starts trying to get up
on its hands and knees in a crowling position.
HEIGHT ADJUSTMENT
14. Once assembled, the product can be adjusted to
various heights in all congurations. To adjust its
height, hold down height adjustment pedal “M” (Fig.
14) and lift or lower the seat to the desired height.
ADJUSTING THE BACKREST
15. The backrest can be adjusted to four dierent posi-
tions. To do this, push down on backrest recline lever
“N” (Fig. 15).
Position 1 – Crib mode (Fig. 15a)
Position 2-3 – Reclined cradle mode (Fig. 15b)
Position 4 – Highchair and rst chair at the table mode
(Fig. 15c)
These adjustments can also be made with your child
seated in the product. In this case it will be slightly more
dicult.
WARNING: Always check that the backrest is properly
locked before use.
USING THE SAFETY HARNESS
16. With fabric “E” assembled on seat structure “B”, there
will be a crotch strap, two waist straps and two
shoulder straps (Fig. 16).
17. CRIB MODE - WARNING: Completely remove all
safety harnesses making sure to keep them out of
the reach of your child (Fig. 17).
18. RECLINED CRADLE MODE - WARNING: A 3-point
restraint system must be used: crotch strap + waist
straps (Fig. 18).
19. After placing your child in the seat, reclined cradle
mode, fasten the straps by passing the two prongs
through the crotch strap buckle; adjust the waist
straps so that they t closely around your child’s
waist (Fig. 19).
20. HIGHCHAIR AND FIRST SEAT AT THE TABLE
MODE - WARNING: A 5-point restraint system
must be used: crotch strap + waist straps + shoulder
straps (Fig. 20).
WARNING: In this conguration the toybar must al-
ways be positioned behind the backrest.
21. After placing your child in the seat in highchair
mode, fasten the straps by passing the two prongs
through the shoulder strap buckle (Fig. 21) and then
through the crotch strap buckle (Fig. 21a); Adjust the
height of the shoulder straps so that they correctly
t your child’s shoulders.
Always make sure that the straps are fastened correctly.
To unfasten the strap, press and pull the side prongs.
WARNING: When using the product, always fasten the
straps by inserting them in the crotch strap and check
that they are tight enough and properly fastened.
22. The safety harness straps can be removed (for washing
or for use in the crib/reclined cradle conguration).
To remove the harnesses pull the waist and crotch straps
out from the holes in the fabric (Fig. 22-22a-22b) until
they are hidden on the seat frame and pull the shoulder
straps out from the fabric holes on the backrest (Fig. 22c
-22d). After removing the safety harnesses, make sure
that the harnesses are correctly re-assembled.
To re-assemble the safety harnesses, carefully follow the
steps below:
23. Follow point 7 of the ASSEMBLY paragraph to re-
assemble the waist straps and crotch strap. For the
shoulder straps, pass the strap through the hole as
shown in Fig. 23, making sure that the length adjust-
er is positioned as shown in the gure.
Take the plastic hole of the shoulder straps and pass it
through the fabric ring of the harness (Fig. 23a).
Having performed this operation correctly, pull the har-

Chat med din Chicco Baby Hug 4 in 1 manual ved hjælp af AI

Få øjeblikkelige AI-svar fra din Chicco Baby Hug 4 in 1 manual

Spørg om alt vedrørende Chicco Baby Hug 4 in 1. Svarene kommer fra denne manual med henvisning til de sider, de er baseret på.

Baby Hug 4 in 1 Vedligeholdelsesplan

Efter hver vask
Tjek stof og syninger

Verificer modstanden af stoffet og sømmene efter hver vask for at sikre sikkerhed.

Vis i manualen (side 15)
Periodisk
Inspekter for skader

Kontroller produktet regelmæssigt for brudte, beskadigede eller manglende dele og brug det ikke, hvis de findes.

Vis i manualen (side 14)
Periodisk
Rengør bevægelige plastdele

Fjern støv, snavs og sand fra plastdele, der glider på metalrør for at forhindre friktion.

Vis i manualen (side 16)
Som nødvendigt
Smør bevægelige dele

Anvend tør silikonesmøremiddel til bevægelige dele, hvis det er nødvendigt for at sikre korrekt funktion.

Vis i manualen (side 16)
M: QW-35-FL

Stil et Spørgsmål

0/1000

Anbefaler du Baby Hug 4 in 1?

Ja Nej

Ofte stillede spørgsmål

A

Den kan bruges fra fødslen i tremmesengs- og tilbagelænet vuggetilstand op til 9 kg og derefter fra omkring 6 måneder i højstol og første stol-tilstand op til 36 måneder og 15 kg.

Er dette svar nyttigt?

A

Nej. Den tilbagelænede vugge er ikke beregnet til længerevarende søvn. Hvis et barn skal sove i længere tid, bør man i stedet bruge en rigtig tremmeseng eller seng.

Er dette svar nyttigt?

A

Ja. Legebøjlen kan monteres eller fjernes efter behov. I højstolstilstand skal den altid være placeret bag ryglænet af sikkerhedshensyn.

Er dette svar nyttigt?

A

Stoffet skal kun håndvaskes i koldt vand. Må ikke bleges, tørretumbles, stryges eller kemisk renses. Kontroller sømme og stoffets tilstand efter vask.

Er dette svar nyttigt?

A

Ja. Alle fire hjul skal være låst, når produktet er i brug, for at hjælpe med at holde det stabilt og reducere risikoen for bevægelse eller væltning.

Er dette svar nyttigt?

A

Kontrollér, at alle dele er korrekt samlet, at låsemekanismerne er aktiveret, at selen sidder korrekt, og at ingen komponenter er ødelagte, revnede eller mangler.

Er dette svar nyttigt?

M: GO-GEM-FL-25

Fordele og Ulemper

Fordele

  • 4-i-1 designet vokser med barnet fra fødslen til 36 måneder.
  • Justerbar højde og tilbagelænet ryglæn understøtter forskellige daglige rutiner.
  • Aftagelig legebøjle med lys og lyde giver underholdning i de tidlige stadier.
  • Vaskbare, aftagelige tekstil- og selenheder gør rengøring og pleje nemmere.
VS

Ulemper

  • Skift mellem tilstande kræver omhyggelig samling af en voksen og løbende sikkerhedstjek.
  • Produktet skal altid bruges med det korrekte fastholdelsessystem.
  • Tremmesengs- og tilbagelænet vuggetilstand er begrænset til et relativt kort aldersinterval.
  • Legebøjlens batterier og bevægelige dele kræver periodisk vedligeholdelse og opmærksomhed.
M: GO-GEM-FL-25

Produkt Specifikation

Vægt

10,20 kg

Mål (BxHxD)

850x880-1220x600 mm

Funktioner

højdejusterbar, ombyggelig til høj stol, melodifunktion

M: GO-GEM-FL-25

Produkt Beskrivelse

Chicco Baby Hug 4 in 1 babylift: Ét smart sæde til de første tre år

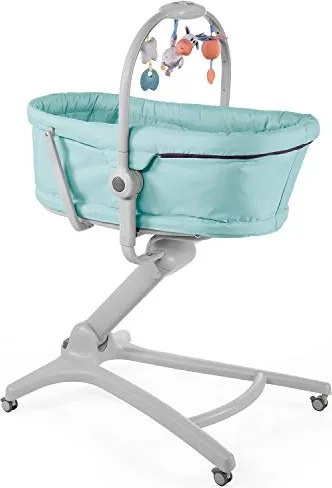
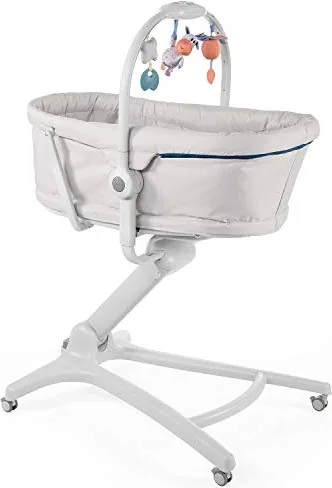
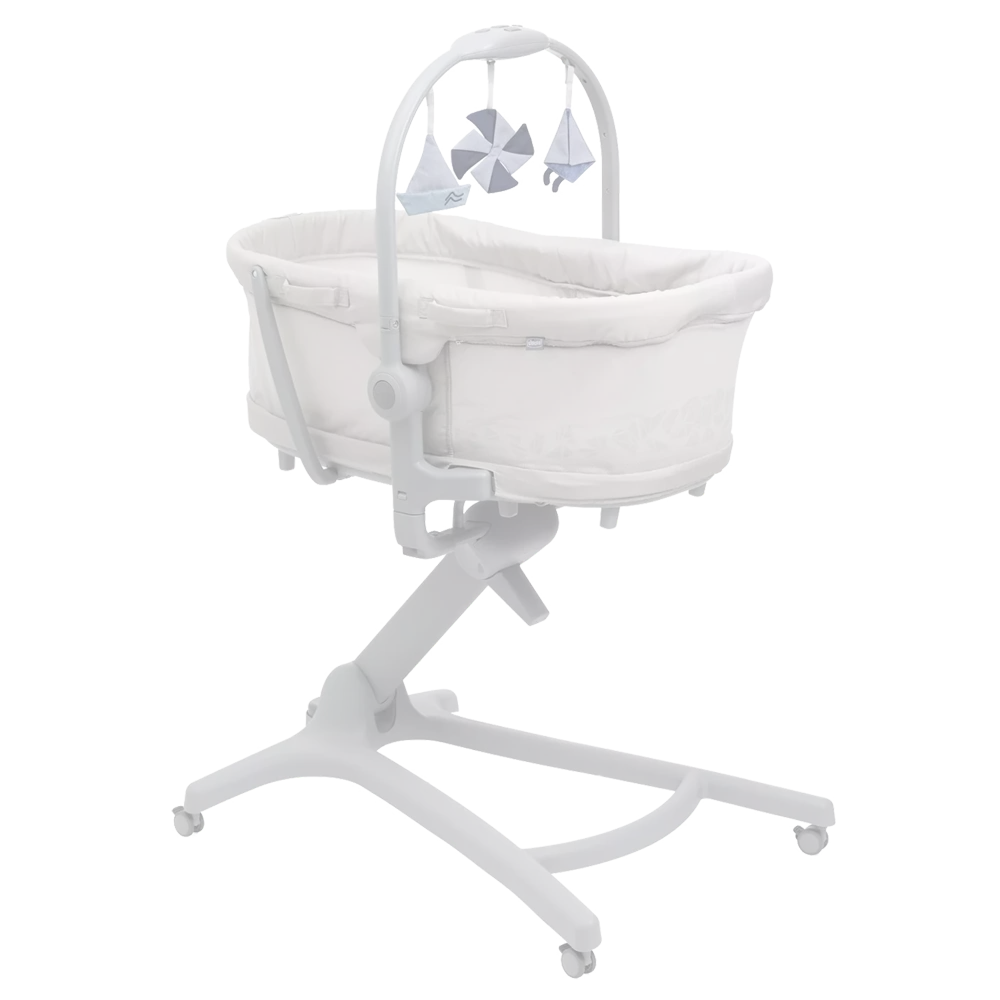
Chicco Baby Hug 4 in 1 babylift skiller sig ud som en alsidig ledsager til børneværelset, der følger barnet gennem flere tidlige stadier med overraskende lethed. Fra de første dage hjemme til tumlingeårene kan den fungere som tremmeseng, tilbagelænet vugge, højstol og første stol ved bordet. Denne fleksibilitet gør den attraktiv for forældre, der værdsætter kompakte løsninger uden at gå på kompromis med komfort eller praktisk anvendelighed.

I tremmesengstilstand giver den et hyggeligt hvilerum til nyfødte op til 9 kg, mens den tilbagelænede vuggeindstilling giver familien et behageligt sted til overvåget afslapning i de første måneder. Senere, når barnet kan sidde selv, kan produktet skifte til højstol og første stol, velegnet til måltider og daglige familiestunder op til 36 måneder og 15 kg. Resultatet er ét stykke babyudstyr, der tilpasser sig skiftende rutiner i stedet for at stå ubrugt efter få måneder.

Designet fokuserer også på bekvemmelighed. Et justerbart højdessystem hjælper sædet med at passe til forskellige møbelopsætninger, og ryglænet kan lægges i flere positioner, så det matcher den tilsigtede brug. En aftagelig legebøjle med lys, lyde og bløde legetøjselementer tilføjer et engagerende touch, især i de tidlige stadier. For mange forældre bliver Chicco Baby Hug 4 in 1 Bassinet Manual derfor nyttig, da den forklarer, hvordan man skifter sikkert mellem tilstande og får mest muligt ud af hver konfiguration.

En anden styrke er den daglige vedligeholdelse. De aftagelige tekstildele, sikkerhedsseler og let rengørbare overflader gør den mere håndterbar i travle hjem. Produktet er også bygget med stærkt fokus på stabilitet og opsyn og minder omsorgspersoner om at låse hjulene, kontrollere låsepunkterne og bruge det korrekte fastholdelsessystem til hver tilstand. Disse detaljer betyder noget, fordi et multifunktionelt produkt skal føles lige så sikkert, som det er praktisk.

Noter

  • Velegnet bedst til forældre, der ønsker en langtidsholdbar og pladsbesparende løsning.
  • Følg altid opsætningsinstruktionerne nøje før hvert skift af tilstand.
  • Regelmæssig inspektion og korrekt rengøring hjælper med at bevare ydeevne og udseende.
  • Legebøjlen er sjov for yngre babyer, men bør fjernes, når barnet bliver mere mobilt.
M: GO-GEM-FL-25

© Copyright 2026 Manual.ly